
This is a generic installation, reality might vary a little between the various devices.
Unpack Your new IOT-device, read the manual, if there are batteries put them in, if there is power from USB or 230V-net, attach them as described in their manual.
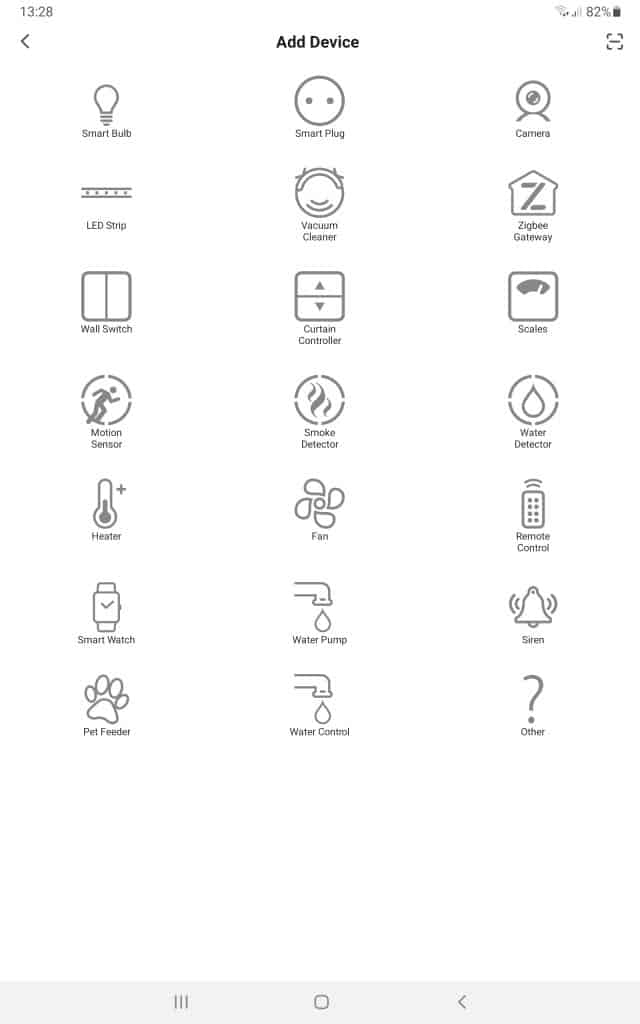
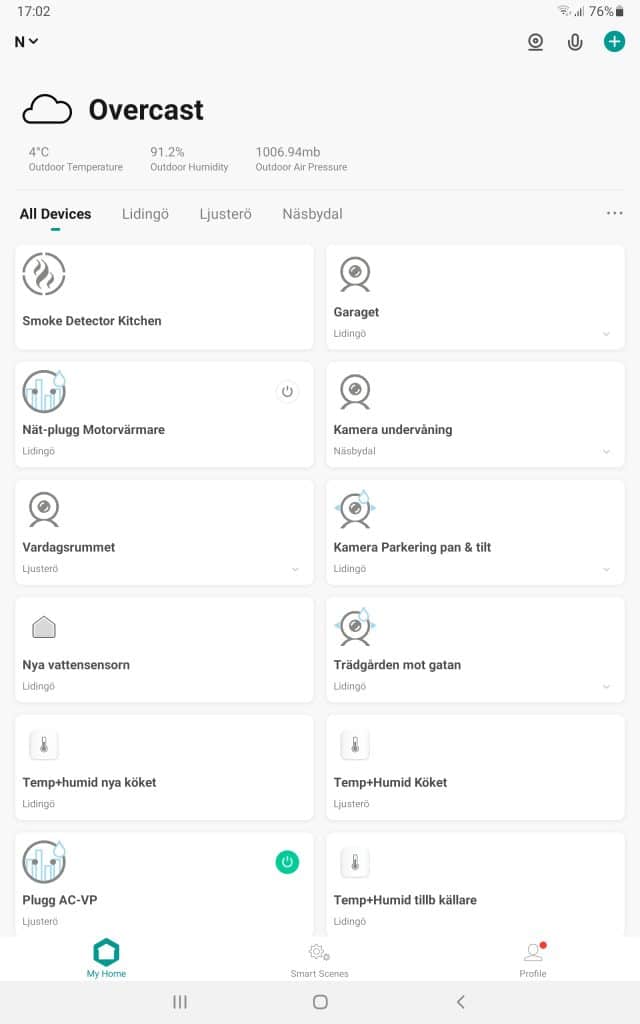
Start Your SmartLife-app in Your mobile or tablet. You should get a screen similar to the pic below:
My already installed devices are listed with symbols of their function, power plugs that are “On” have a powerbutton colored green, if “Off” they are colored white.
The band at the bottom of the screen “Smart Scenes” and “Profile” I will describe separately under its own tabs and not in this thread.
First! And this is REALLY IMPORTANT!
Check so that You are attached to THE SAME Wifi with Your mobile or tablet, as the device You install is going to be. It does NOT bind correctly between the device and the app, during the installation if it is not.
As an example of possible problem is: I have TWO segments with two different Wifi-nets in my house, both with their own routers, I use ONE for the IOT-devices and one for my general LAN, both with firewalls that segments them for security reasons from each other. Even if YOU don´t, still You might run mobile-network and data access, in parallel with Your Wifi, TURN IT OFF! See the manual of YOUR mobile on how to turn off “mobile data access”during the installation. Not doing so, is the most probable cause for problems when installing IOT´s. Once You secured this, start installation of a new IOT-device, by clicking the green “+” sign in the upper right corner.

Now – select the type of IOT-device You are adding. In this example a “Smoke Detector”.
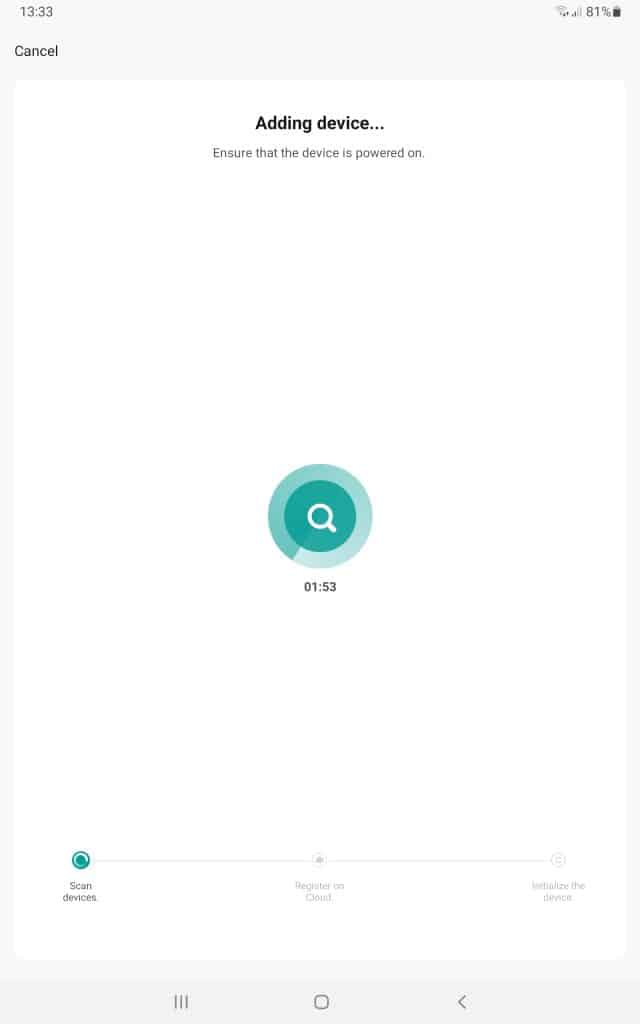
Follow the manual for the specific IOT-device You are installing.
ONLY when the indicator light, described in the manual is blinking rapidly, telling You that its ready and have found one or several of the possible WiFi-acesspoints, You confirm the check-box above and click “Next”.

In my example I use the WiFi-net named Z24 (2.4Ghz) to bind with my IOT-device. Most modern Wifi-routers does also support 5GHz, but the Nedis IOT´s I have experience of does not. So check that Your Wifi has a named 2.4GHz accesspoint – Z24 in my example – then check that You know the password to this accesspoint. Both will be needed when installing – binding Your IOT to Internet via Your Nedis SmartLife-app.
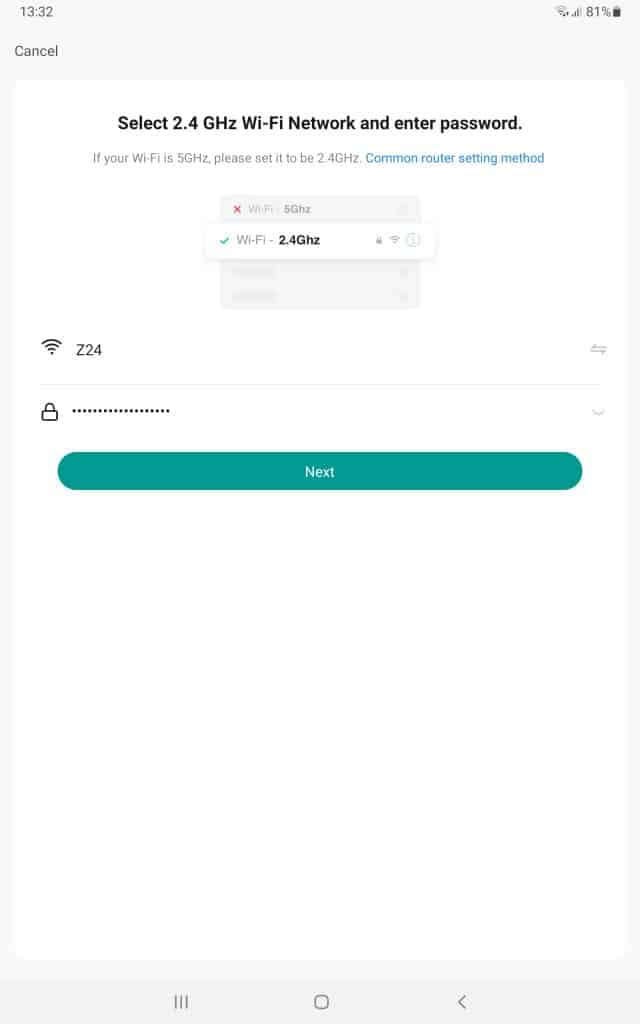
IF You don´t provide a 2.4GHz net (A) OR forgotten to turn off the mobile data in parallel to the WiFi (B) OR You get the password wrong (C) OR the signal strenght is not good enough (D). You will NOT get an error message telling You what happened, there will just be a time out, after about 3-5 mins of the above screen, telling You that the binding process did not end successfully.
Then You have to follow the suggested link of the error-screen to try again. If so CHECK that the above described conditions (A to D) are fullfilled, before trying to bind again. For some reason the Nedis manuals does NOT describe these must conditions well if at all? Leaving the user to find it out for him self by “Trial and error” or “Rial and Terror” as I prefer to describe the situation. Not all users will solve this by them selves. How many users have just given up on Nedis IOT´s because of these weak manuals?
NEXT its time to select the new IOT-device and perhaps rename it to something more describing. Click the “pencil” in the upper right corner.

Click the “pencil” again.

Provide the new name at Name – Smoke Detector 2 – below.
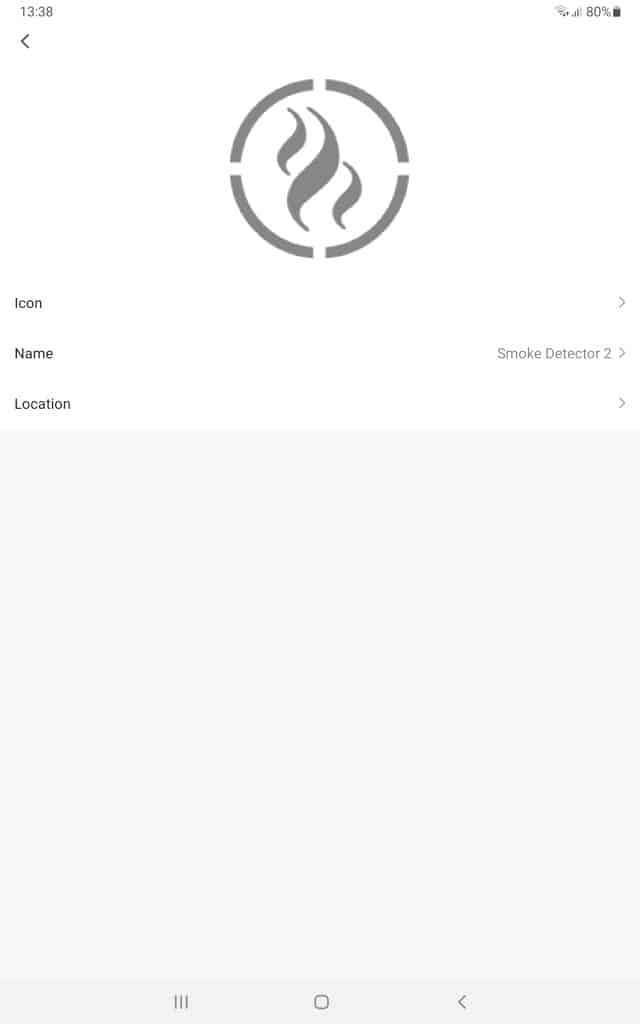
Replace the name with what You want, in my example I choose “Smoke Detector Kitchen”.
Then back out with the “<” in the upper left corner under “13:38”.
Back again.
And Back again – this time with a “<-“.
Now You should be back to “My Home” listing All the devices so far installed. With the “Smoke Detector Kitchen” listed.
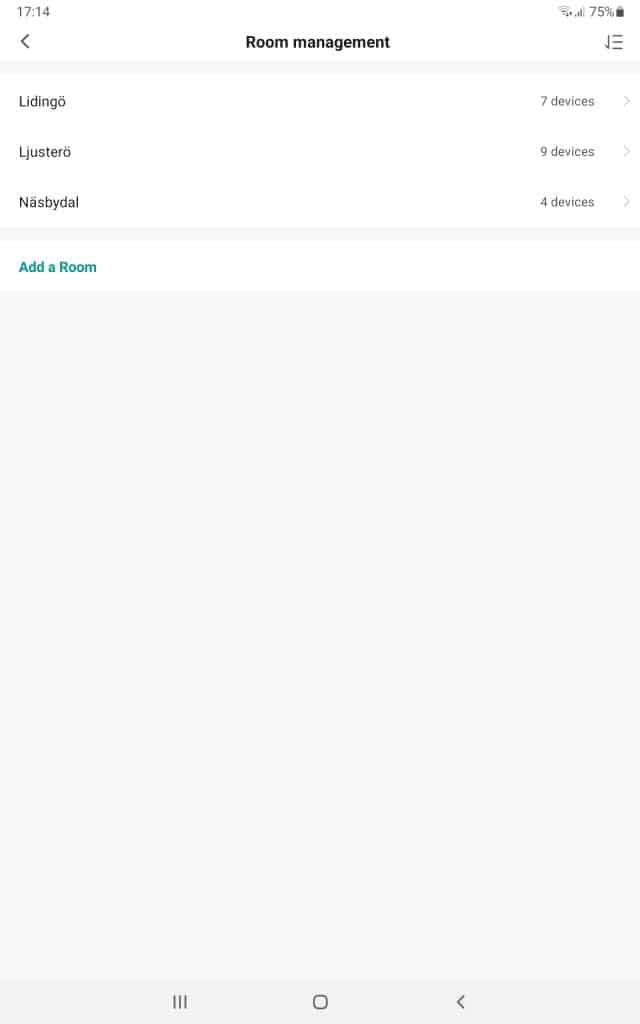
I have plenty of devices, installed in three different physical locations with different access to Internet. Lidingö, Ljusterö and Näsbydal. I want to add the just installed Smoke Detector to the Lidingö location. So I click on the “…” at the end of the localisation row. Then choosing “Room Management”. I already have “the room Lidingö” IF I didn´t I would “add a room”, now instead I click “Lidingö” which in my case already has 7 devices attached to it.
Now I can click the green “+” of the “Smoke Detector Kitchen” to move it to the section above with devices already listed in “Lidingö”.
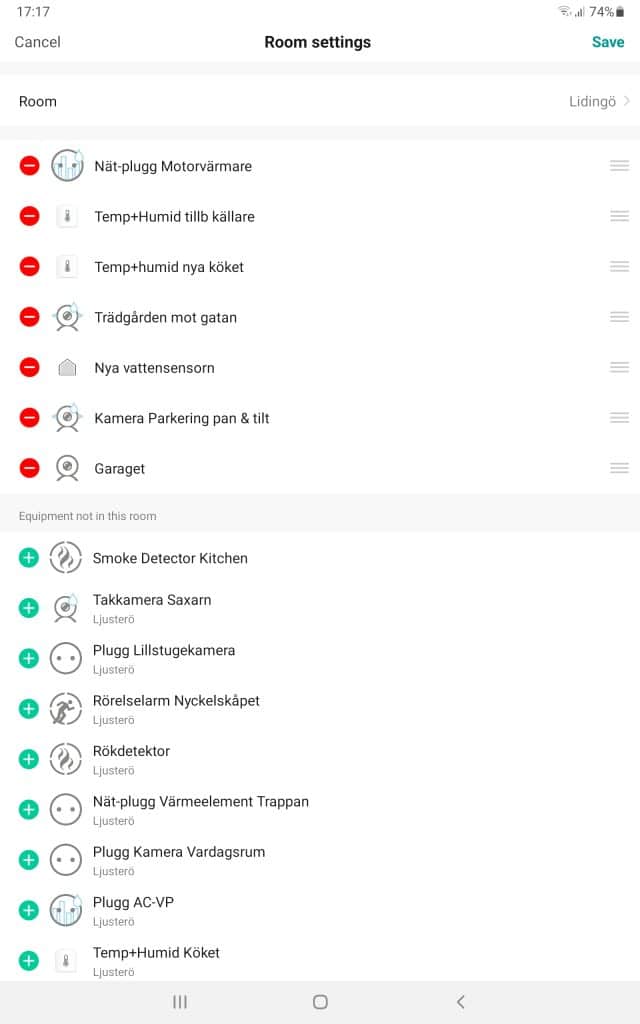
Then I click the green “Save”, and back out to “My Home”-screen.
Congrats! You have just added a device to the Nedis SmartLife-app.